 Add Row
  Add
Add 


Your Guide to Repairing Vinyl Plank Flooring in Pearl City
Have you noticed some scratches, dents, or water damage on your vinyl plank flooring in your Pearl City home? Don’t worry; repairs are often more straightforward than they may seem. Just like any flooring material, vinyl planks can sustain damage, but the beauty lies in their ability to be repaired or replaced with minimal fuss. This article provides you with a comprehensive, step-by-step guide tailored specifically for residents keen on DIY home improvement.
Understanding Vinyl Flooring Durability
Vinyl plank flooring is celebrated for its durability and aesthetic appeal, available in various designs that mimic wood or tile. However, it is not completely immune to wear and tear. Many homeowners are unaware that even high-quality vinyl planks can become damaged over time due to heavy foot traffic, furniture movement, or moisture exposure. Recognizing how to repair these pieces, instead of opting for a costly total replacement, is both a cost-effective and satisfying solution.
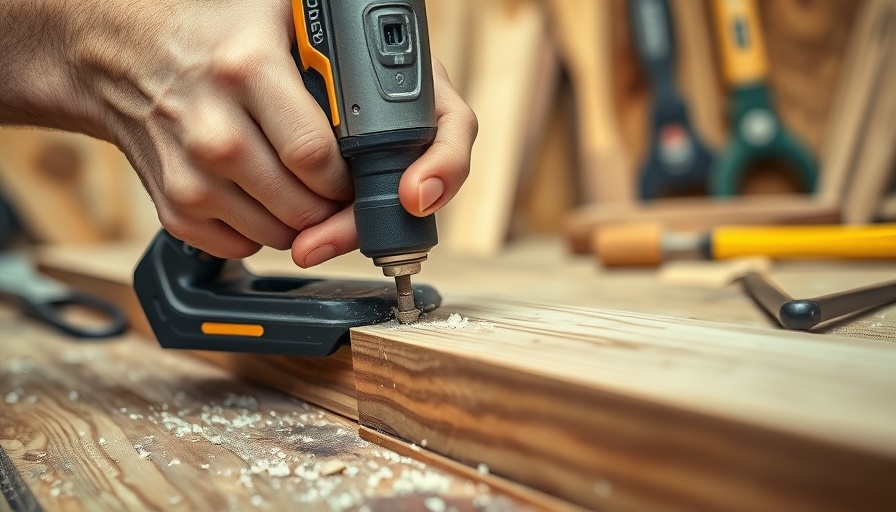
Tools and Materials Needed for Vinyl Plank Repair
The first step in your repair process is gathering the right tools and materials. Here’s what you’ll need for a successful DIY initiative:
- Tools: Chisel, Circular saw, Hammer, Utility knife, Pry bar, and Rubber mallet.
- Materials: Replacement plank, Superglue, Finish nails, and, if necessary, new baseboard material.
Having these tools on hand before you begin can streamline your repair process and minimize frustration.
Step-by-Step Method for Repairing Vinyl Planks
Follow this easy method to replace damaged planks quickly, ensuring your floor looks as good as new.
1. Identify the Damage
The first step is to assess which planks require replacement. This will help you determine whether you can proceed with the restoration or if professional help is necessary, especially if the damaged area is large or central to a room.
2. Remove the Baseboard
To gain access to the planks, use a utility knife to score the top edge of the baseboard, cutting any bond with wall paint. Carefully remove it utilizing a hammer and pry bar. This allows you to expose the edges of the planks that need to be fixed.
3. Unclick and Lift the Damaged Plank
If your planks are of good quality, they can usually be unclicked and lifted out without causing damage to the surrounding pieces. Start in a corner of your room and work your way towards the damaged section.
4. Install the Replacement Plank
Fit the new plank snugly into place, ensuring it aligns properly with adjoining planks. If needed, use super glue to secure it but be cautious, as overly gluing can lead to adhesion problems later.
5. Reinstall the Baseboard
After the new plank is in place and secured, replace your baseboard by hammering it back into position. This final touch will cover any gaps or unsightly edges you might see and will complete your quick repair project.
Common Pitfalls to Avoid During Repairs
While replacing vinyl planks is manageable, certain common mistakes can hinder your repair. Avoid these pitfalls:
- Choosing Low-Quality Adhesive: This can lead to premature failure of the plank.
- Neglecting to Measure: Always measure the new plank against the one being replaced to ensure a proper fit.
- Forgetting to Prepare the Subfloor: Any debris underneath can affect the level of the newly installed plank, making it unstable.
Future-proofing Your Vinyl Flooring
Once your repairs are completed, consider how you can avoid future issues. Regular cleaning, using protective mats in high-traffic areas, and keeping humidity levels stable can prolong the life of your vinyl planks. Regular inspections of your flooring can help you catch potential issues before they require significant repair.
Embracing DIY Home Improvement
Taking the time to repair your vinyl flooring not only enhances the appearance of your home, but it can also provide a fulfilling sense of accomplishment. As a Pearl City resident, getting hands-on with your home improvement projects can help you save on costs while gaining valuable skills along the way.
By understanding the process and being equipped with the right tools, you can ensure your floors remain a stunning asset to your home. If you consider larger projects beyond your expertise or that would benefit from professional touch, don't hesitate to reach out to local contractors.


Write A Comment